How to switch HDMI on Windows 10
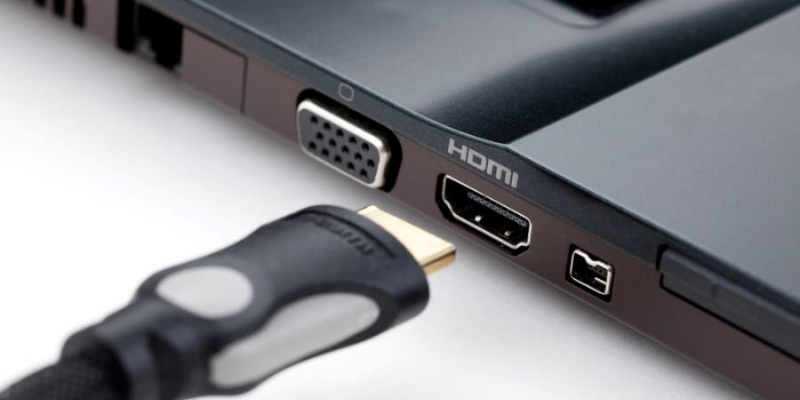
HDMI provides a near-universal custom for transferring video and audio from one device to a different one. It is a single, comparatively skinny cable that does not get tangled as simply as previous standards, and has full support for high-definition pictures. As well, it’s been designed to be bi-directional, which means the show can refer to your device or laptop, and tell it what resolutions it will support, what color depth is provided, and a myriad of alternative options your device will use.
Unlike previous standards, HDMI provides a way for each audio and video to be sent by one cable, greatly simplifying the setup of house instrumentality, or, after you need to attach your laptop to your tv to observe a streaming moving picture, show family snapshots, or show a presentation at work.
How to switch HDMI on laptop on windows 10
Before you begin protruding to the external display, make certain the HDMI cable is connected properly to the monitor. Press the “Windows+P” crosscut key on your keyboard, then choose the show choice. You can either extend your show or use solely a monitor screen as a primary screen. Your Windows ten computer ought to mechanically find the external display and show the desktop. If you didn’t see any external show connected to your computer, then follow these steps.
- Click the beginning menu, then choose the settings gear icon to open Windows 10’s settings.
- In the setting, choose System > show.
- Under the Multiple show section, click the find button. this can find AN outwardly connected show.
- Once the monitor is detected, you’ll choose from the list however you would like to use your monitor.
You can amend the resolution and size of the screen if your monitor encompasses a high-resolution show. However, Windows can mechanically find the resolution and show you the suggested size in pixels. If you have got a portable computer and you would like to use the second laptop as a secondary show, then you’ll connect the show wirelessly. You have to change the “Projecting to the present laptop” choice on the PC that you wish to project on wirelessly. To change this feature, open the Windows ten settings, then choose System > protrusive to the present laptop. Once you’ve enabled this feature, attend to the laptop that you wish to attach wireless show from. Press the “Windows+P” cutoff key, then click the “connect to a wireless display”.
If you didn’t notice the second portable computer shown within the looking list, ensure the wireless local area network is functioning properly. This is all concerning the way to switch to HDMI on windows ten. I hope this guide is useful for you, Associate in Nursing. Currently, you’ll be able to connect an external show together with your laptop simply. you’ll be able to additionally connect one or 2 additional displays with a similar laptop and use all of them at the same time