To Allocate RAM On Windows 10 PC
The Windows 10 operating system lags the performance after using it for some time. It also lags when you are using multiple programs at a time. It has multiple tabs on the web browser but still, the performance slows down due to lagging.
After checking by the experts it is said that this problem occurs due to the allotment of RAM on the device. So to fix it, you can fix it by optimizing memory allotment on your computer. In case your computer lags in with a browser like Firebox and Chrome you have to fix this problem by allocating some more memory to the program so that it can work properly.
What is Ram?
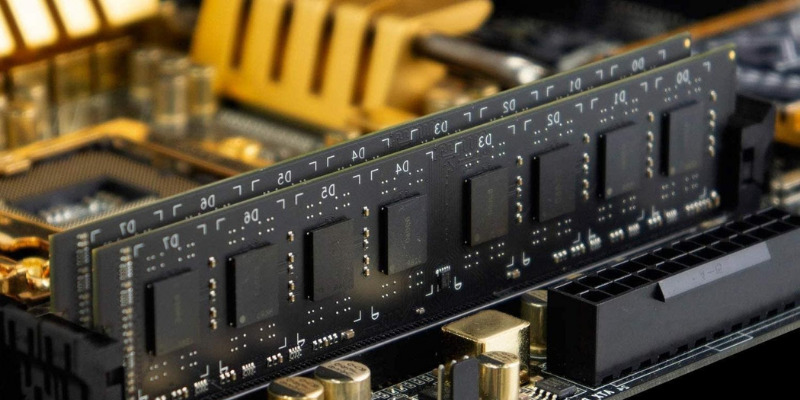
Ram stands for Random Access Memory. Ram is an operating memory that is allocated by the computer to different apps. It stores the information temporarily to run the program. The Ram is completely responsible for the proper working of a computer. When you are playing a game the RAM allocates the memory to run that game because if it has to save down on the drive the whole process slows down and the game lags or buffer.
The PC working depends on the RAM it contains. In RAM it has just limited accessing power to run programs on your computer but if you need to save it it will save on the ROM which stands for Read-only memory. RAM Chips with the same memory size may be operated at different speeds. Therefore it is best to have more Ram because it avoids computer lagging and hanging.
Allocate RAM To Specific Apps in Windows 10:-
Following are the basic steps to allocate more memory to a specific program or app in Windows 10:-
Step 1:- Open Task Manager on your screen computer that has Windows 10 in it. Then press the CTRL + SHIFT + ESC keys from your keyboard.
Step 2:- Then go to the “Details Tab.” on the Task Manager.
Step 3:– Then right-click on the app where you want to reallocate the RAM for its proper working. After that in the context menu, take the mouse pointer to the ‘Set Priority’ and select ‘High’ or ‘Above Normal’ which is completely based on the priority.
Step 4:- After the above changes are done, you need to confirm them. You have to do these settings by clicking on the “Change Priority” That is available in the confirmation box.
Therefore the above steps help to allocate more memory in your Windows 10. These changes will ensure that your computer after allocating the memory to the particular apps gives the priority to those apps as compared to other apps. The above function comes in handy to the people that are using an older computer or an entry-level device and new models, as well as high-end devices that come with more memory as compared to others.
Conclusion:-
The above article helps you to know about the process of more memory allocation for your games and simple steps to do that allocation.
