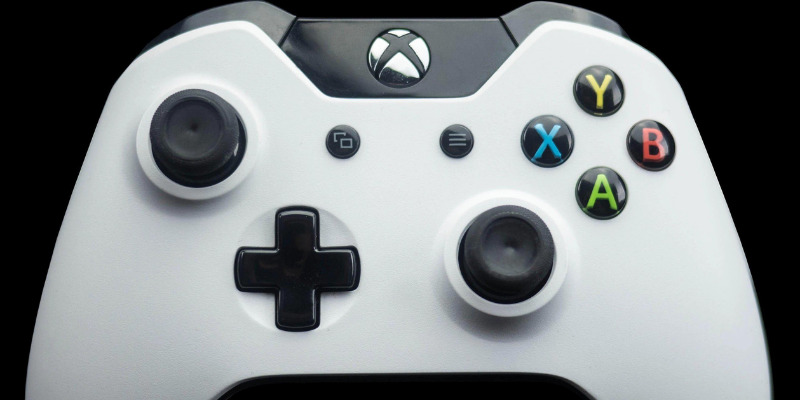
Take apart your Xbox One controller
Before you’ll take apart your Xbox One controller, notice a clean and clear space that is well lit. you’ll conjointly get the subsequent tools if you do not have already got them you’ll use a Torx bit during a driver or with a spanner, or use a fervent Torx driver, however, it’s to be a T-8 safety Torx. you’ll tell the distinction between an everyday Torx and a security Torx by the little hole found within the tip of a security Torx. While not this little hole, an everyday T-8 Torx won’t work into the Xbox One controller screws. For the prying tool, you’ll use something that is skinny enough to fit within the gap between the controller housing and also the finish covers. attempt to use a plastic tool if attainable to avoid damaging the housing of your controller.
Here’s a way to take apart your Xbox One controller
- Use a prying tool to softly separate the proper or left grip cowl.
- Once the covers have begun to separate, you’ll quickly prop them off by hand.
- Repeat the method with the opposite grip cowl.
- Remove the battery cowl.
- You are currently able to take away the screws, beginning with the hidden screw within the battery compartment. Use a T-8 safety Torx bit, and use caution to properly seat it and apply even pressure to avoid removal the screw
- Using an equivalent Torx bit or driver, take away one in all the screws from one in all the grips.
- Remove the second screw from an equivalent grip.
- Repeat an equivalent method on the opposite grip, removing the ultimate 2 screws, and also the controller can break.
- You currently have access to the rumble motors, triggers, and a few extra screws that you simply will refrain from unless you would like to switch specific elements on the circuit card. To access most of the opposite elements, take away the assembly from the front case and flip it around.
- From this read, you’ll clean the buttons and analog sticks, take away the analog sticks, take away the d-pad ring and d-pad, and more.
- To assemble the controller once you are done, merely reverse these steps. Place the controller assembly back within the front case, set the rear case in situ, insert and tighten all fight screws, then finally snap the grip cowls and battery cover back to place.
Performing Xbox One Controller Repairs
Once you have successfully taken apart your Xbox One controller, you’ll arrange to create repairs. Some issues are mounted by merely improving parts, whereas different problems need you to switch parts. In some cases, advanced skills like attachment area units are needed to get rid of and replace parts. betting on your expertise level, a number of those repairs are unit higher left to the professionals.
Other fixes are a lot easier, like repairing or exchanging the d-pad ring. If your d-pad is not responding properly, do that fast fix.
- Use a prying tool or tweezers to fastidiously pop off the spring steel d-pad ring.
- Carefully carry up the arms on the d-pad ring in order that they apply additional pressure, and put them together. If that does not fix your drawback, you will want a brand new d-pad ring.